Most advice about iPhone photography starts with settings. It should start with a cloth.
Clean the lens. Genuinely.
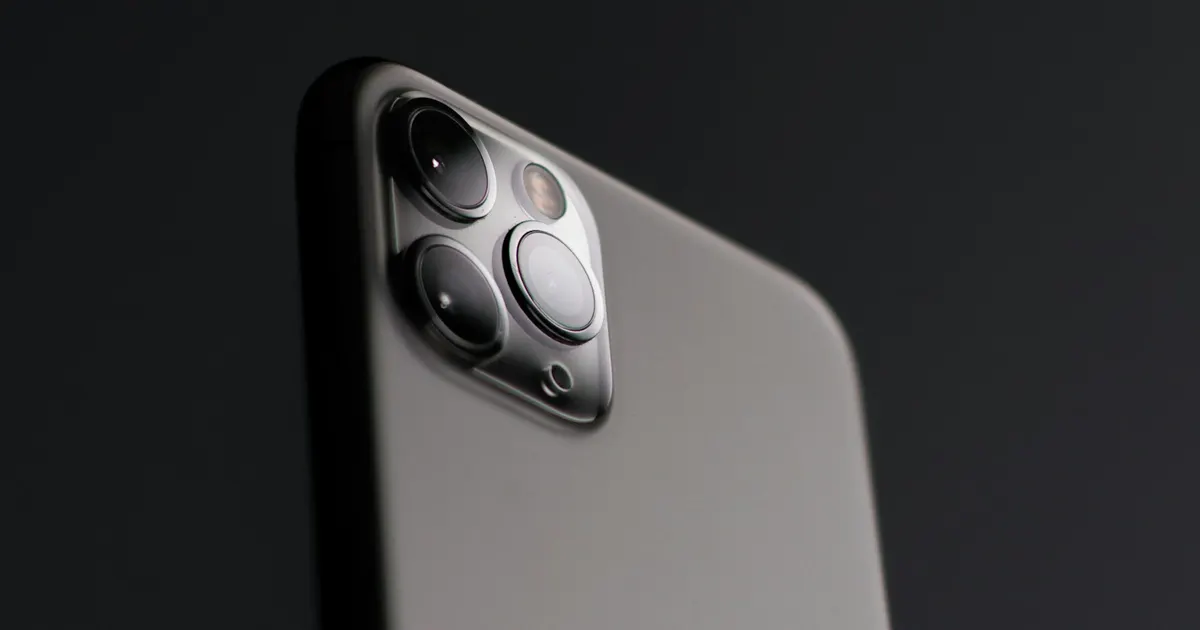
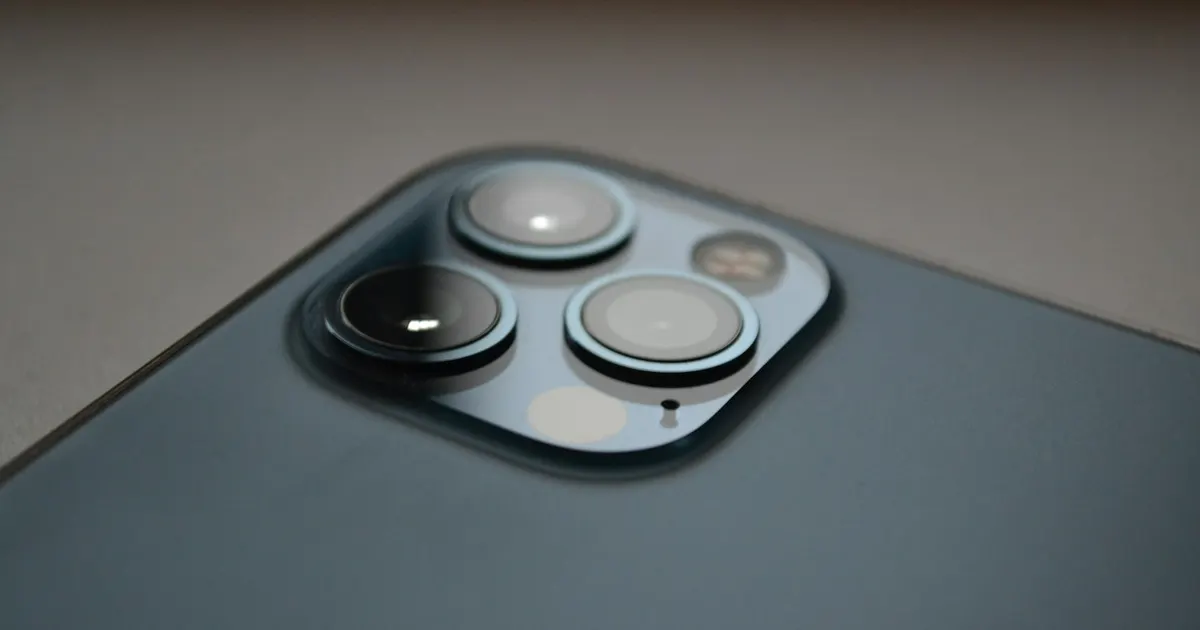
Your phone lives in a pocket or a bag. It picks up a thin film of skin oil that you cannot see at a glance but which scatters light across every shot — showing up as haze, soft detail, and long streaky flare around any bright light.
Wipe the rear glass with a soft cloth, or a clean corner of a cotton shirt, before anything that matters.
This is the single biggest improvement available to you, it takes three seconds, and it beats every setting below. We see phones on the bench every week whose “camera problem” was a fingerprint.
Four settings to change once
Settings → Camera
Grid — on. Two lines each way. It is not about rules of composition; it is about straight horizons, which is the difference between a snapshot and a photograph that looks deliberate.
Level — on. A horizontal guide that appears when you point the phone down at something flat. Useful for documents, food and anything on a table.
Preserve Settings — on (tap into it). This is the one people never find. Without it, the camera resets to its defaults every time you open it — so if you switch Live Photos off, or prefer a particular lens, it forgets. Turn on the items you care about and it stops fighting you.
Lens Correction — on. Quietly fixes the distortion the ultra-wide and front cameras introduce at the edges. There is no reason to have it off.
That is it for settings that change picture quality. Everything else on that screen is a preference or a storage decision — and formats deserve their own explanation: HEIF, JPEG and ProRAW, and what each costs in storage.
The two controls that matter while shooting
Tap to focus — then fix the brightness
Tap the thing you want sharp. A yellow box appears, with a small sun icon beside it.
Slide that sun up or down. That is exposure — brightness — and it is the most useful control on the phone. Almost every disappointing photo is a brightness decision the camera made differently from you: a face too dark against a window, a sky blown to white.
Darker is usually safer. Detail pulled back from a slightly dark photo survives; detail burned out of a bright one is gone.
Tap and hold to lock
Hold on your subject until AE/AF LOCK appears at the top. Focus and exposure are now fixed, and they will not jump around while you recompose or while someone moves through the frame.
This one habit fixes most “why did it suddenly go dark” moments.
Use the lens buttons, not the pinch
On the shutter screen you will see 0.5× · 1× · 2× or similar, depending on your model.
Tapping those is free quality. Each one is either a different physical lens or a crop Apple has specifically optimised.
Pinching past them is not. Beyond the marked options you are into digital zoom, which enlarges pixels rather than capturing more detail. Quality falls away fast, and it is the most common reason holiday photos look mushy.
If you need to be closer, walk closer. If you cannot, shoot at 1× and crop later — you will get the same framing with more detail and the chance to change your mind.
Low light — technique, not settings
This is where phones struggle and where technique earns the most.
Brace the phone. Night mode works by keeping the shutter open longer, so any movement blurs the shot. Rest the phone on a wall, a table, a railing — or press your elbows into your sides and hold your breath. A braced phone in Night mode beats an unbraced one every time.
Let Night mode run. When the yellow moon icon appears, the number beside it is seconds. Tap it and you can extend the time. Stay still until the capture finishes.
Do not use the flash for people. It flattens faces and kills the atmosphere of the room. Find existing light instead — a window, a lamp, a doorway — and turn the person toward it.
Find any light source and use it. In a dim restaurant, a candle or a phone screen held just out of frame will transform a portrait.
Clean the lens again. Smears matter far more in low light, because every bright point turns into a streak.
For photos of children and anything moving
Use burst. Hold the shutter button and slide it left, or set Settings → Camera → Use Volume Up for Burst and hold the volume-up key. You get a rapid sequence and pick the frame where everyone’s eyes are open.
This is the only reliable way to photograph a moving child, and it is the tip people thank us for most.
Lock focus first (tap and hold) so the camera does not hunt as they move.
Portrait mode — and its limits
Portrait mode blurs the background artificially. It is excellent on faces and pets, and unreliable on anything with complicated edges — hair against a busy background, glasses, plants, a chair’s legs.
If the cut-out looks wrong, take it again in normal mode. On recent iPhones you can also adjust or remove the blur afterwards in Photos, so shooting normally costs you less than you think.
What is not worth bothering with
Heavy filters at capture. Anything you bake in is permanent. Shoot clean, edit afterwards — Photos can do most of it non-destructively.
Third-party camera apps, unless you specifically want manual shutter and ISO control. Apple’s processing is a large part of why iPhone photos look the way they do, and third-party apps do not always get the same access.
“Camera enhancer” apps. Nothing installed after the fact improves the sensor or the lens.
When it is not you — it is the camera
Some faults look like bad photography and are not. If, after cleaning the lens, you still get:
- Photos soft or hazy in every shot — check the rear camera glass for cracks. A cracked lens cover scatters light exactly like a smear, and it is a common drop injury
- A visibly shaking preview, or a rattling sound when you shake the phone gently — the stabilisation mechanism may have failed, usually after a drop
- Focus hunting back and forth and never settling
- Spots or blotches in the same place in every photo — dust or moisture inside the module
- One lens working and another not when you switch between them
Those are hardware. The full diagnosis walk-through is here: why is my iPhone camera blurry?
A camera module is a replaceable part, and on most models it is a routine repair.
Cleaned the lens, checked the settings, and photos still look wrong? Tell us your model and what you are seeing — ideally with a sample photo. We will tell you whether it is a repair or a technique thing, honestly, including when the answer is “there is nothing wrong with your phone.”
Talk to us → · iPhone repair in Guwahati → · +91 91271 99144